Welcome: Alstar Candle
Language:
 ∷
∷

∷
∷
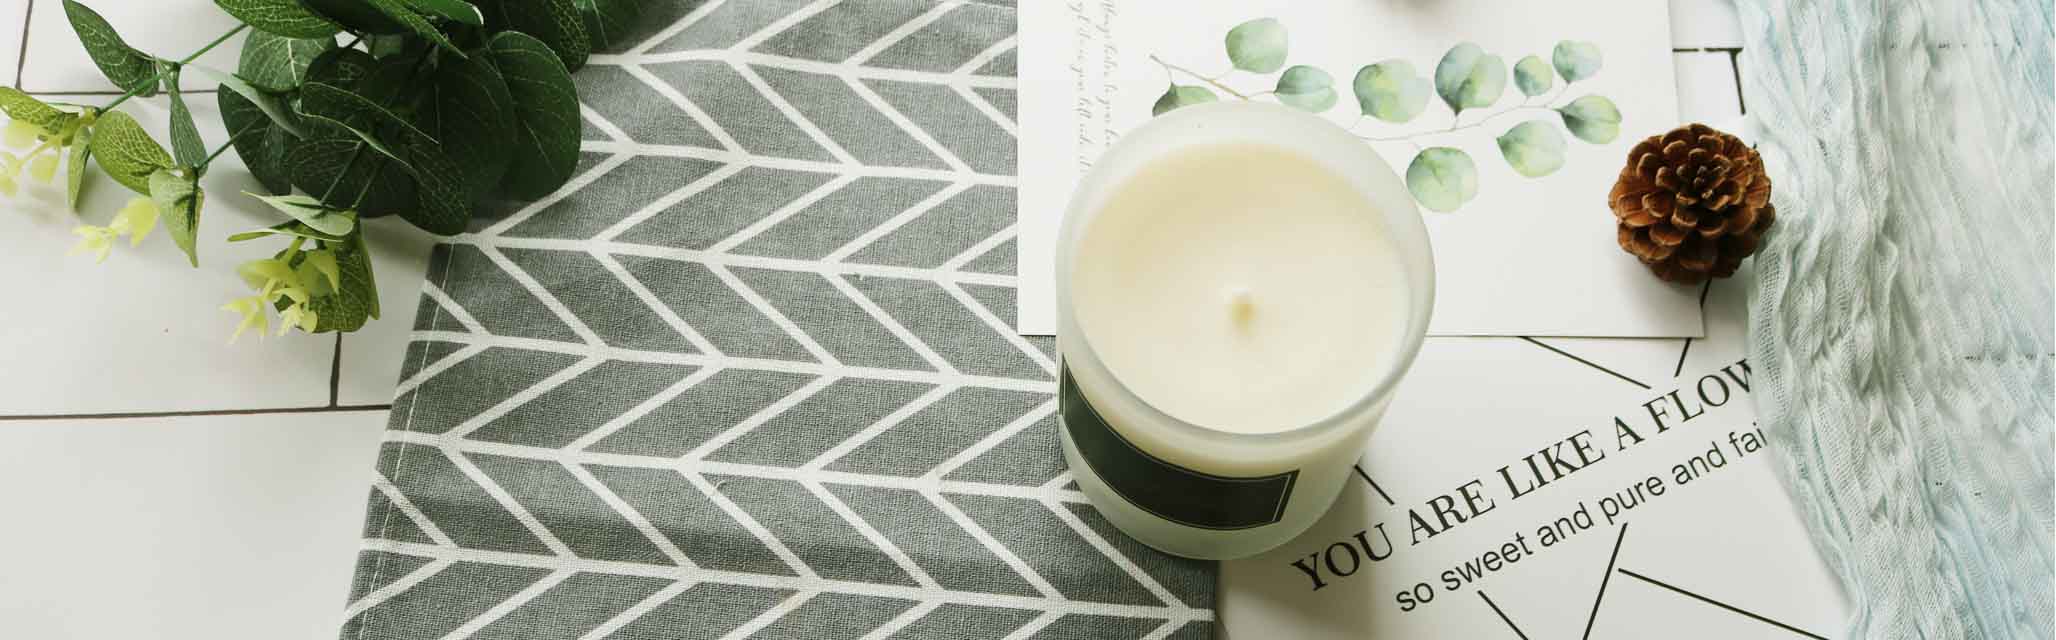


There’s something magical about combining the warm glow of a candle with the soothing touch of a massage. If you’ve picked up a Massage Candle but aren’t quite sure how to use it (without burning yourself, of course!), you’re in the right place. Unlike regular candles, massage candles are formulated with skin-safe, low-melting-point wax that turns into a creamy, nourishing oil when lit. Think of it as self-care in a jar—perfect for a solo night in or a romantic evening with a partner. Let’s break down the step-by-step process, plus some pro tips to make the most of your experience.
Step 1: Choose the Right Massage Candle (and Set the Mood!)
First things first: Not all candles are created equal. Make sure you’re using a specifically designed massage candle—avoid regular paraffin candles, which have a high melting point and can burn your skin. Look for options made with natural ingredients like soy wax, beeswax, shea butter, jojoba oil, or coconut oil. These not only melt at a safe temperature (usually between 104–122°F/40–50°C) but also moisturize and nourish your skin.
Next, set the scene. Dim the lights, put on some soft music, and make sure your space is clean and cozy. Lay out a towel or a massage mat on your bed or floor to catch any wax drips (trust me, this will save you from sticky sheets later!). If you’re sharing the experience, communicate with your partner about what feels good—consent and comfort are key!
Step 2: Light the Candle and Let It Melt
Once your space is ready, light the Massage Candle and let it burn for 15–20 minutes. This gives the wax enough time to melt into a smooth, liquid oil. Pro tip: Don’t leave the candle unattended while it’s burning—safety first! Also, avoid burning the candle all the way down to the bottom; stop when there’s about ½ inch of wax left to prevent the jar from overheating.
While you wait for the wax to melt, take a few deep breaths to relax. This is part of the self-care ritual—slow down and savor the moment. You’ll notice the candle releasing a gentle fragrance (if it’s scented) that adds to the calming vibe. Opt for scents like lavender, chamomile, or sandalwood for extra relaxation, or citrus scents if you want a more uplifting feel.
Step 3: Test the Temperature (Critical!)
Before using the melted oil on your skin,always test the temperature—this is the most important step to avoid burns. Blow out the candle first (you don’t want to accidentally drip hot wax while testing!). Then, tilt the jar slightly and let a small drop of the melted oil fall onto the inside of your wrist (this area is sensitive and will give you an accurate reading of how hot the oil is).
If the oil feels warm but not burning, it’s ready to use. If it’s too hot, wait a few minutes for it to cool down. Remember: Massage candles are designed to be safe, but everyone’s skin sensitivity is different—better to be cautious than sorry!
Step 4: Apply the Melted Oil and Massage
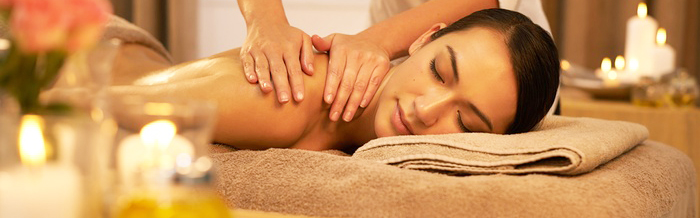
Now for the fun part! Hold the candle jar at a slight angle and pour a small amount of the melted oil onto your hands (or directly onto the area you want to massage, like your shoulders, back, or legs). Rub your hands together to warm the oil even more, then start massaging in gentle, circular motions.
For a solo massage: Focus on areas that hold tension, like your neck, shoulders, or lower back. Use long, sweeping strokes for larger areas (like your back) and smaller, circular motions for tighter spots (like your temples or wrists). The oil will glide smoothly over your skin, reducing friction and making the massage feel extra luxurious.
For a partner massage: Start with lighter pressure and gradually increase it based on their feedback. Pour the oil onto your hands first (instead of directly on their skin) to ensure the temperature is comfortable. You can also use the oil to massage hands, feet, or scalp—let your creativity flow!
Step 5: Clean Up and Store Properly
After your massage, the cleanup is easy! The oil will absorb into your skin over time, leaving it feeling soft and hydrated—no need to rinse it off immediately (unless you prefer to). If there are any wax drips on the towel or mat, let them harden, then scrape them off with a butter knife or peel them away (natural waxes like soy are easy to remove).
To store the remaining candle: Make sure the jar is completely cool before putting the lid back on. Store it in a cool, dry place away from direct sunlight. This will keep the wax from melting prematurely and preserve the fragrance.
Bonus Tips for the Perfect Massage Candle Experience
• Exfoliate first: For even better absorption, exfoliate your skin (with a body scrub or loofah) before the massage. This removes dead skin cells and allows the oil to penetrate deeper.
• Don’t mix with other products: Avoid using lotion or body cream before the massage—they can create a greasy mess and prevent the massage oil from absorbing properly.
• Reuse the jar: Once the candle is fully used, clean out the remaining wax (place the jar in the freezer for a few hours, then pop the wax out) and reuse the jar for storage (like holding jewelry or cotton balls) or as a small planter.
• Try different brands: Every massage candle has a slightly different texture and scent—don’t be afraid to experiment until you find your favorite. Some are thicker and more buttery, while others are lighter and more oily.
Massage candles are a simple yet luxurious way to elevate your self-care routine. They combine the calming effects of candlelight with the nourishing benefits of natural oils, creating a spa-like experience in the comfort of your own home. Whether you’re treating yourself or sharing the moment with a loved one, following these steps will ensure a safe, relaxing, and unforgettable experience.
Have you tried a massage candle before? Let me know in the comments—what’s your favorite scent or brand? And if you’re new to it, go ahead and give it a try—your body (and mind) will thank you!
Contact: Kevin Gong
Phone: +86 13864878416
Tel: +86 13864878416
Email: info@alstarcandle.com
Add: No. 237 Wannianquan Road, Qingdao, China